Frame by Frame: OPTA Videos, Part 2 — Starting to Shoot
(This is part two of a three-part series covering video production for an elearning project. Part 1 covers pre-production planning and preparation, and Part 3 covers post-production editing and publishing.)
Months after our initial planning for the OPTA video project, June offered the opportunity to begin actually shooting video footage. The main instructor would be in town and available, and the large physio lab we wanted to shoot in would be free and empty. Being the summer session, fewer students and faculty were in the building too, which made for a quieter environment.
Roles and Rules: Who did what
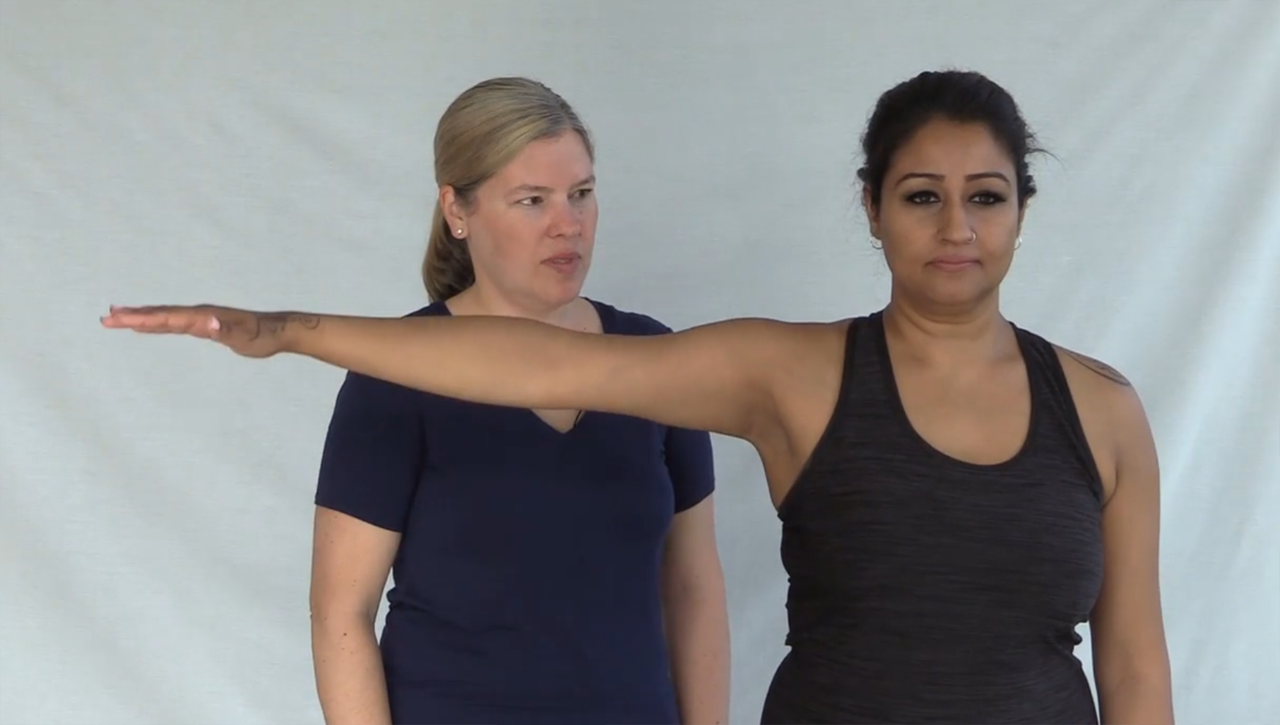
We were fortunate to have members of the OPTA program available to assist. For most of the shoot, we were a small team of four. OPTA provided three people to help with production: Kristen, an instructor who’d be the main demonstrator and narrator, Carmen, the project leader who would be our floor director to manage the shooting sessions, and Shaleen, who would be our on-camera model. I provided technical guidance and video gear, and was the camera operator.
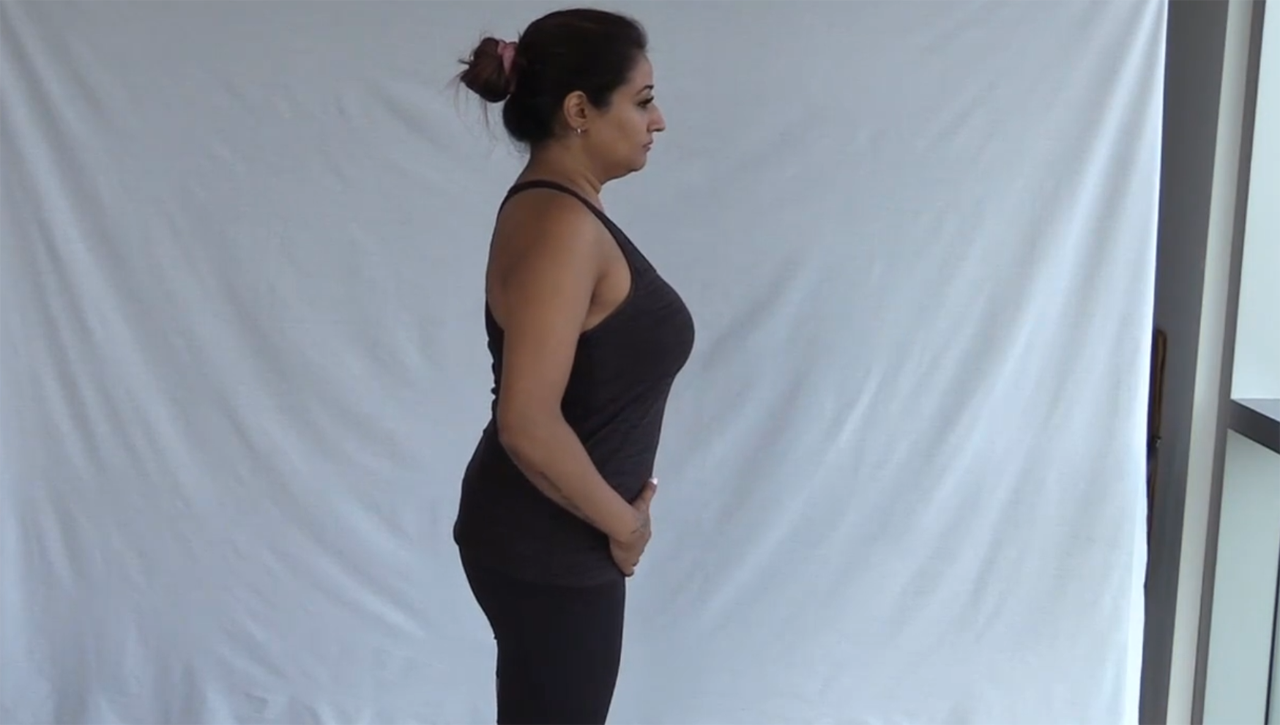
Near a large window, we hung up a large sheet to act as a simple backdrop. This would help our model to be seen clearly and reflect some natural light back into the room from the large side windows. Our instructor and subject matter expert, Kristen, would narrate the action from off-screen. To record her live audio, we used a lapel microphone with a long cord going into the camera. With the room fairly quiet and Kristen holding the mic close to her mouth, background noise from the room’s ventilation system was fairly minimal. During live audio recording, sound can echo quite easily in a large, uncarpeted room. Any noise from ceiling lights and ventilation systems are always a risk. Our brains tend to filter out “background noise”, but microphones hear everything.
On a small video production like this, why have a Floor Director?
It may sound like overkill, but having a Floor Director really helped to keep our work coordinated. We needed someone to literally “call the shots”, providing verbal cues to the camera operator and performers, so that everyone knew what was happening. The Floor Director helped everyone know when to start and stop their individual performances, while keeping a running checklist and notes on which shots were completed and which were not.
During the OPTA shoot, Carmen would sit off to the side of the camera at a small table, calling out each shot:
“Extensor Carpi, Shot 1, Take 2, Roll Camera”.
The cameraman (me) would reply “Rolling” or give a thumbs-up.
Carmen would say “Action” for the performers to start their sequences.
Hearing the word “Cut” from the director would stop the recording. If all went well, we’d hear “Looks good. Let’s move on…”
Shooting (out of) sequence
Recording was usually organized around sequences of similar shots covering the same material: all the medium shots of a particular sequence would be done first, and close-ups or alternate angles were usually shot afterwards. This helped to ensure that shots would match if edited together from different takes. Often multiple takes were required for each shot. It’s rare to get a perfect take the first time; sometimes extra takes are needed because of a flubbed line, or because someone comes up with a better way to do a shot. For consistency, tape would be placed on the floor, marking where the camera’s tripod would be positioned for each day’s medium shots.
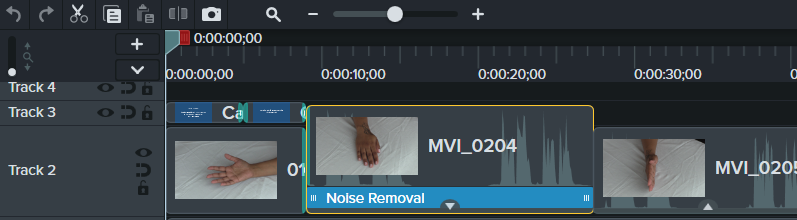
Because we shot out of sequence, we ended up with hundreds of little shots stored on the camera in the order they were recorded (named by date/time). The director’s verbal prompts, calling out the shot numbers at the beginning of each shot was a huge asset to me later during editing; it helped me identify footage and put it into the right order, according to our original shot list.
Often it was necessary to show the director or the performers what the camera was seeing. Most often, Carmen could just peek into the camera’s viewfinder, or I’d pivot the viewfinder around to let them get a glimpse at the framing of the shot. I’m still hoping to develop a better technical solution to help a director see the camera’s shots in real-time. For example, it would have been ideal to use an external monitor that the director could watch throughout recording, to see how shots unfold from the camera’s perspective. I’ve never gotten that set up, but it can be done using a tablet with Wi-Fi, or via an HDMI adapter and a mobile app to get the video stream from the camera.
Reaching our Estimates
In all, our little crew probably shot video in the physio lab for at least twelve hours, recording scenes for 12 videos which combined to total 66 minutes of finished footage. That’s approximately a 12:1 shooting ratio — not too far off of my original 10:1 estimate.
After capturing all that live footage, the shots had to be edited together back into the sequence of the original shot list, and various technical improvements and adjustments also had to be made. All that editing, sound and video improvements, titling and captioning would be done during the post-production phase, which is detailed in Part 3.