Frame by Frame: OPTA Videos, Part 3 — Editing and Distribution
(This is part three of a three-part series covering video production for an elearning project. Part 1 covers pre-production planning and preparation, and Part 2 covers production, aka “shooting”.)
With the video shooting phase (aka “production”) completed, we now had to re-assemble all the shots into their intended order.
After backing-up all the footage, the job ahead was to review hundreds of shots and assemble them into a rough edit. This is where the shot list and director’s notes were crucial during video editing.
Clip Backup and Review
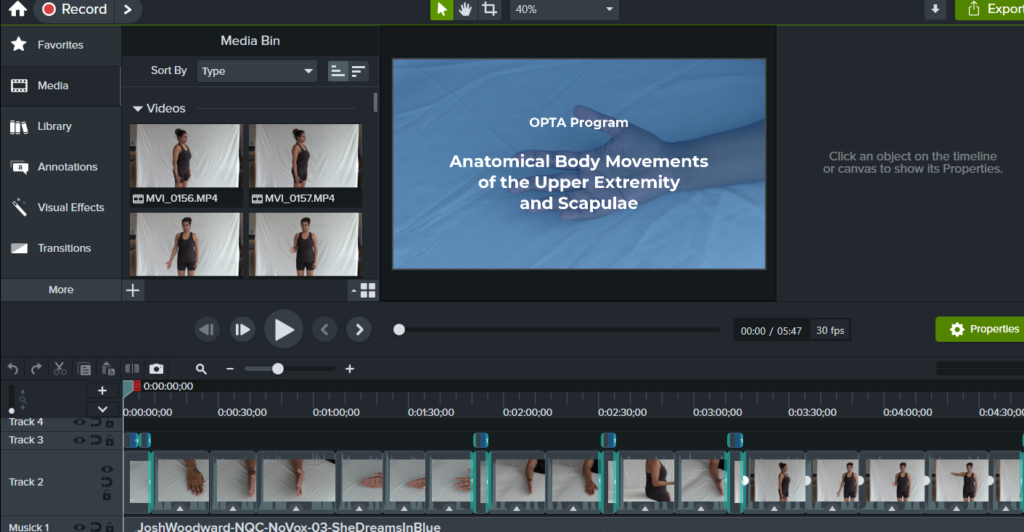
Without going into detail about which editing software I use, I’ll cover the steps taken to assemble scenes into sequence:
First, back up all your footage! Copy it from your camera or SD card(s) and put if somewhere. Don’t do anything else until you’ve done the backups first.
Reacquaint yourself: Take time to review the footage. After going through the hectic and almost dizzying activity of a video shoot, managing last-minute adjustments or changes to the script, it’s a good idea to refresh yourself on all the footage you’ve shot and get your head back into the intended narrative of the video.
Start inserting with the date/time of your footage. Usually, video clips are date/time-stamped. Most cameras store video clips using the date and time in the filename. Start at the beginning with the earliest date/time and see if that’s the first shot that you need. Most of your related takes should follow chronologically from there.
If the above “chronology” rule doesn’t hold true (like, you went back on Day 2 and reshot sequences that you forgot to do on Day 1), then you’ll need to search through your later clips for the pick-up shots that are related.
If it’s confusing remembering which video clips go into a particular sequence, create a log file in Excel: list the filenames of the clips in the order you’ll need to add them to your video project. (This can also be a lifesaver if your video editing project ever gets corrupted.) Some advanced video editing tools (like Premiere Pro) may give you logging tools for this, but even a plain text file is better than having no log at all…
Assembling a rough edit
Basically, assembling a rough edit means adding the clips into your video project and then trimming and adjusting each clip for timing and duration. Editing is often an iterative process of refinement: add, edit, review, add, edit, review, etc.
Fixing issues and harmonizing shots
As I added and arranged the order of the footage, I began to look for common quality issues that might have been overlooked during the shoot. For example, little annoying background noises in the audio, or shadows or inconsistencies in the lighting, or little camera shakes that had not been noticed before. Our ears cannot always hear the hum of the ceiling ventilation, and we may not notice that a large truck barreling down the road outside actually made the building tremble a little bit. It can be easy to miss a change in the quality of the light that happens as we physically move closer to an object for a really tight zoom. (Are we ourselves casting a shadow on the subject? Are we no longer under that same overhead light as we were before? Are we standing a bit farther away from that window for that second take?)
The editing phase is the time to try and fix common errors and improve the harmonization of your shots, so that the colour, light, and sound are all at a similar level of quality. If your video editing software has noise reduction, colour adjustment, or image stabilization tools, use them to smooth out visual bumps and to keep your audio sounding sharp and your imagery looking consistent.
Cameras and microphones are unforgiving witnesses. Tiny visual issues can become amplified to your audience, especially if your video gets displayed on a big screen in front of a classroom. Watching on a large monitor with good brightness and resolution can help you notice fine visual details. Listening to the audio using over-the-ear headphones can make it easier to pick up changes in audio volume or clarity.
Better that you notice these issues and fix them before your audience does. As visual consumers, we’re all used to watching sophisticated, professionally-made video from big-budget television and streaming services. You’ll be unlikely to ever match the quality of professional broadcast or film productions, but the more carefully you edit and fix issues, the more likely your video will be effective and engaging to your audience.
Previewing and getting feedback
Once you’ve got your first rough cut assembled, you’ll want feedback from your stakeholders. You usually cannot finalize the edit of the video without getting some feedback.
My college uses the Kaltura media hosting platform to store and manage videos created by thousands of employees and students. One of the ways Kaltura lets users access and publish their videos is through a YouTube-like portal called “MediaSpace”. To distribute rough-cut versions of videos to the OPTA team, I created a channel in our MediaSpace portal and published the videos to that channel. That allowed me to email each stakeholder a single URL which would lead them to log into the MediaSpace channel where they could securely preview the videos as they were completed to that point.
Clarity and Objectivity: Video is a multi-media experience, incorporating imagery, motion, speech, music, and pacing. All of those elements can be evaluated subjectively in one way or another, and describing them to each other during decision-making can sometimes be like using a thousand words to describe a single image. Proving editing directions in written form can cause confusion and lead to mistakes. For clarity, I encouraged our stakeholders to always refer to changes using start and end times (mm:ss) in the video timeline:
e.g. “At 02:05, where the title slide starts, could you make that slide 5 seconds longer?”, or “Could you move the scene at 10:02 to be after the one at 13:05?”.
Pacing, Tone and Style: Editing is actually part of the design process of a video, and can have a huge impact on overall the tone and effectiveness of storytelling. It can be difficult to foresee exactly what a finished video will look or feel like, so getting feedback from the decision-makers on the team is a big deal. (Whoever’s paying for it will expect that anyway.)
Spell-checking, Naming, and Terminology: This is the phase in which to confirm the naming and titling of things. Get feedback on the terminology you’re using on title slides or overlays. If you need to add a music track or third-party audio effects, make sure they’re licensed by your institution or are creative commons or in the public domain.
Involving Stakeholders in the Editing Process: Sometimes, having the project leader sit with you during the editing process can be helpful, but it also may not be practical. I’d probably go as far as holding a Zoom or Teams video call to share my screen and discuss editing choices with one or more of the key stakeholders.
It’s possible that your stakeholders won’t have time to review the rough cuts and won’t provide you much feedback until later in the editing process. For the most part, trust your judgement, let them know how you intend to proceed in case you don’t hear from them, and then be prepared for minor editing tweaks to come later on.